

Acrylic wall systems are designed to deliver smooth, seamless bathroom surfaces that outperform traditional tile in speed, maintenance, and long-term durability. When installed correctly, they provide a clean, modern finish that homeowners appreciate and contractors can complete efficiently. However, when walls appear wavy or uneven, the issue is rarely the material itself. In most cases, surface irregularities stem from preparation, handling, or installation technique.
For bathroom contractors, knowing the root causes of waviness in acrylic wall systems is the key to protecting both craftsmanship and reputation. The following guide outlines common causes of uneven installations and the best practices that ensure consistently flat, professional results.
Why Waviness Happens in Acrylic Wall Systems
Acrylic panels are rigid yet responsive materials. They will conform slightly to the surface beneath them. If that surface is inconsistent, the finished installation will reflect those inconsistencies.
Before examining solutions, it helps to identify the most frequent causes of distortion and surface irregularity.
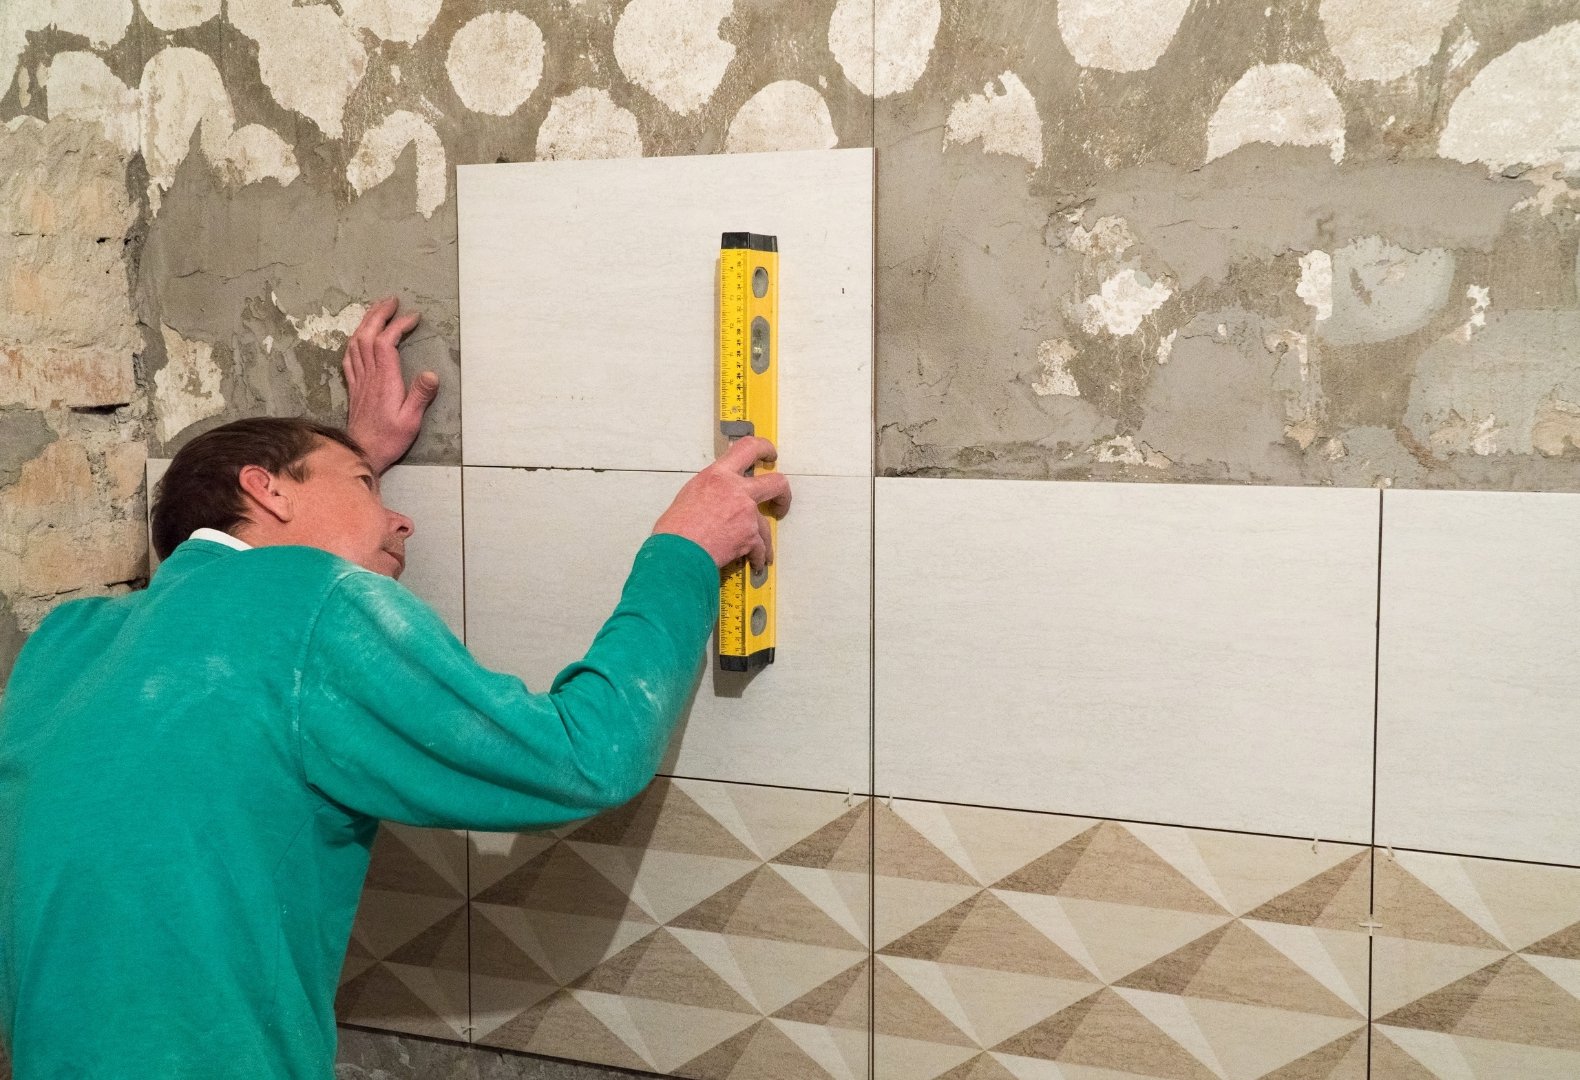
1) Uneven or Improperly Prepared Substrates
One of the most common contributors to waviness is an uneven substrate. Stud walls that are not straight, backer boards with slight bows, or patched drywall with inconsistent buildup can all telegraph through acrylic panels.
When the underlying wall varies even by a small margin, the finished surface may display subtle ripples. These issues often fall under what many installers describe as common fit and finish challenges with wall systems, where minor framing or prep oversights become visible after panels are secured.
The solution begins before the first panel is ever lifted. Contractors should:
- Check wall studs for plumb and alignment.
- Shim low studs and plane high spots.
- Use a long level or straightedge to verify flatness.
- Repair or replace warped backer boards.
A flat substrate is not optional. It is the foundation of a smooth installation.
2) Inconsistent Adhesive Application
Adhesive technique plays a critical role in preventing waves. Applying adhesive in uneven beads, leaving gaps, or using too little material can create hollow areas behind the panel. Once pressure is applied, the panel may flex inconsistently, leading to visible distortion.
Equally problematic is overapplication. Excess adhesive can create pressure points that push sections outward while other areas remain flat.
To avoid this:
- Follow manufacturer spacing recommendations precisely.
- Apply consistent bead patterns.
- Use the correct adhesive type for acrylic panels.
- Press panels evenly across the entire surface during placement.
Uniform adhesion ensures the panel bonds evenly without creating pressure imbalances.
3) Temperature and Acclimation Issues
Acrylic expands and contracts slightly with temperature fluctuations. Installing panels immediately after delivery without acclimating them to the room environment can introduce subtle warping.
Contractors should allow panels to sit in the installation space for the recommended time. This allows the material to adjust to ambient temperature and humidity before adhesion. Taking this step reduces stress within the material and promotes a flatter finish.
Substrate Preparation and Long-Term Stability
Surface preparation affects not only appearance but also durability. Poor prep can lead to lifting, separation, and visible distortion over time.
Improper cleaning, moisture retention, or dusty surfaces can compromise adhesion. These factors are directly connected to preventing delamination in acrylic wall systems, since insufficient bonding often begins at the substrate level.
To ensure a stable foundation:
- Remove dust and debris thoroughly.
- Confirm the wall surface is completely dry.
- Repair water-damaged materials before installation.
- Prime surfaces when required by the adhesive manufacturer.
A clean, dry, and structurally sound surface allows the adhesive to form a consistent bond. That bond keeps panels tight and flat, reducing the risk of ripples developing months after installation.
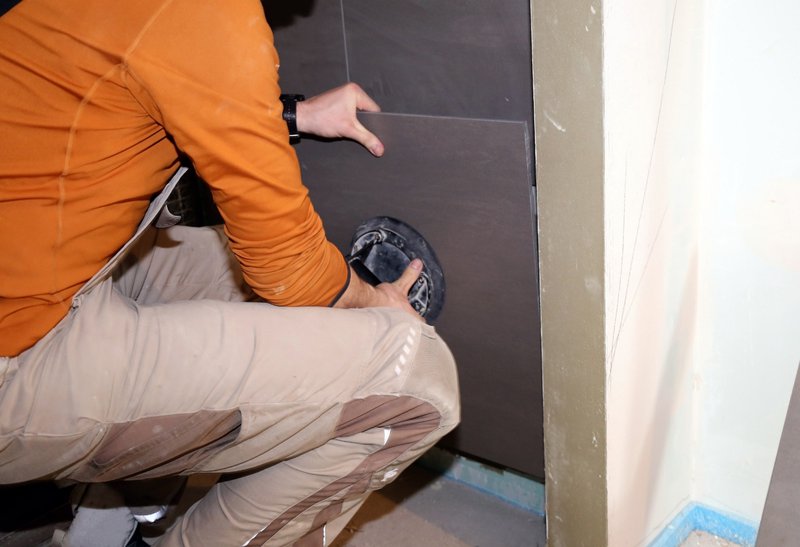
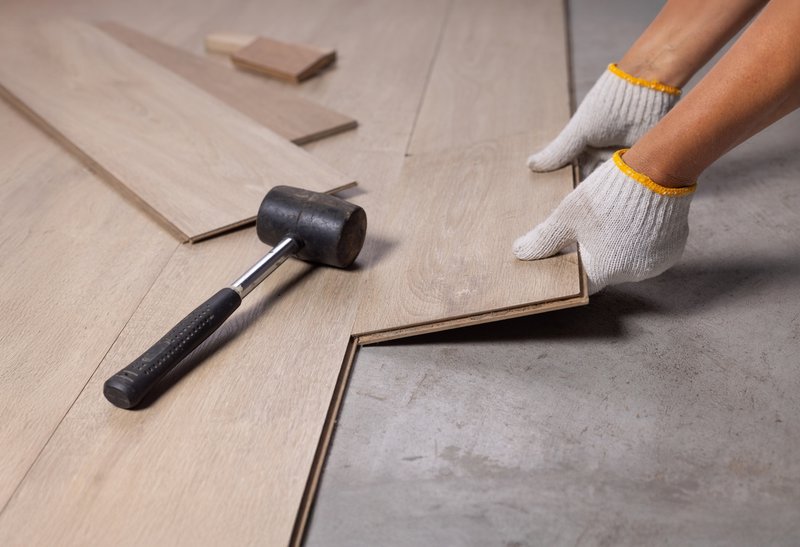
Panel Handling and Cutting Precision
Even when substrates and adhesives are correct, poor handling can introduce visible issues. Acrylic panels must be cut accurately and supported properly during trimming.
Improper cuts can cause edge stress, while forcing panels into tight spaces may create tension that later appears as surface distortion.
Best practices include:
- Measuring twice before cutting.
- Using sharp, appropriate blades.
- Supporting panels fully during cutting.
- Avoiding over tightening fasteners that may cause localized pressure.
Precision during layout and trimming prevents unnecessary stress within the panel.
Installation Technique and Tool Preparation
Smooth installations require more than quality materials. They demand disciplined technique and properly maintained tools.
Blades that are dull, caulking guns that apply inconsistent pressure, or levels that are out of calibration can subtly compromise results. Contractors who prioritize the importance of tool maintenance consistently achieve more uniform finishes because their equipment performs predictably and accurately.
Practical steps include:
- Replacing worn cutting blades regularly.
- Cleaning adhesive nozzles to maintain consistent bead size.
- Calibrating levels and measuring devices.
- Inspecting clamps and supports before use.
Attention to tools may seem minor, yet it often separates average installations from exceptional ones.
Managing Seams and Transitions in Acrylic Wall Systems
Seams are another area where waviness can appear. If panels are not aligned properly or if expansion gaps are ignored, slight shifts may occur.
Installers should:
- Follow manufacturer guidelines for expansion allowances.
- Ensure panels are aligned before final pressure is applied.
- Apply even pressure at seams.
- Use recommended trim components to conceal transitions cleanly.
Proper seam management maintains a consistent plane across the entire wall system.
Training and Workflow Consistency
Consistency in process reduces variability in results. Contractors who implement standardized installation checklists experience fewer callbacks and surface issues.
A repeatable workflow might include:
- Substrate inspection and correction.
- Moisture and debris check.
- Panel acclimation confirmation.
- Adhesive pattern verification.
- Final level and seam inspection.
This structured approach ensures that no critical step is overlooked, even during high-volume renovation schedules.
Elevate Bathroom Projects With Reliable Acrylic Wall Systems
Bathroom contractors face increasing pressure to deliver tile-like aesthetics without the labor intensity and long cure times associated with traditional installations. Clients want clean lines, durability, and low-maintenance surfaces. At the same time, contractors must protect margins and reduce project timelines.
High-quality acrylic wall systems address these operational challenges by mimicking the appearance of tile at a fraction of the cost. They install faster, require less maintenance, and eliminate grout-related issues that often lead to callbacks. For projects that demand a more elevated aesthetic, Sentrel wall systems provide the appearance of natural stone without the cost and installation complexity of real stone slabs.
ISI Bathroom Systems supports professionals with reliable wall alternatives that enhance service quality while improving installation efficiency. Looking to expand your product offerings and strengthen your competitive advantage? Explore these solutions and additional accessories by visiting our shop.